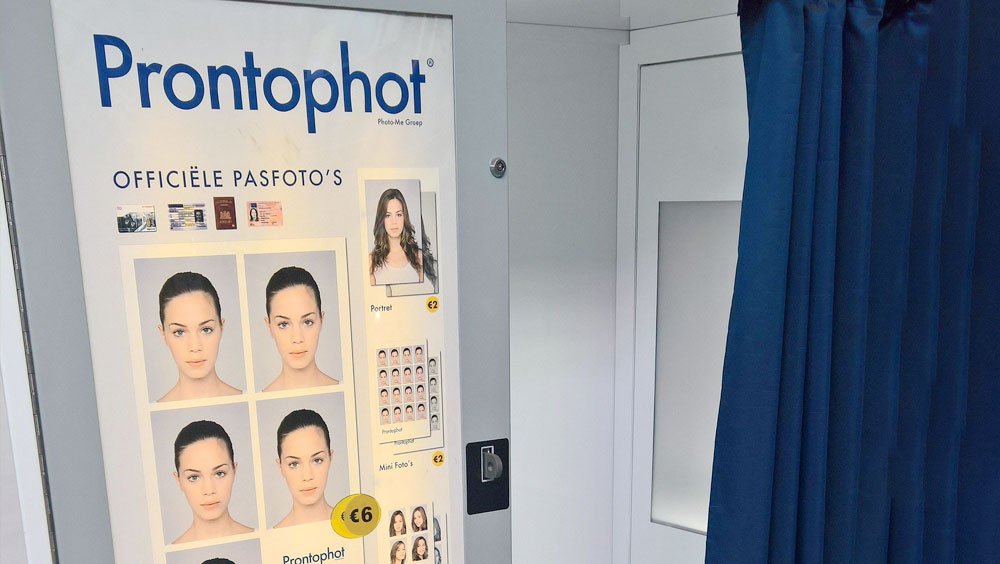
Taking your own passport photo at home can be a simple and convenient way to get the photos you need for important documents. It is important to follow certain guidelines to ensure that you have a suitable photo that will meet all of the requirements of the passport issuing authorities.
Understanding Passport Photo Requirements
While it's possible to go to a professional studio or a post office to get your passport photo taken, it's also possible to take your own passport photo at home as long as you have the right tools and understand the requirements.
Here are some important instructions about how to take passport photo at home:
1. Standard Passport Photo Specifications:
The standard passport photo specification for most countries is a 2-by-2 inch (51-by-51 mm) photo with a white or off-white background. The photo must be in color and have a resolution of at least 600 dpi (dots per inch). It should also be printed on glossy photo-quality paper.
2. Specific Requirements for Your Country:
While most countries have similar passport photo requirements, it's important to check your country's specific requirements. You can do this by visiting your country's passport office website or contacting them directly. Some countries may have specific requirements for head size, facial expression, or even the use of head coverings.
3. Photo Composition and Pose Guidelines:
To get your DIY passport photo just right, it's crucial to follow some composition and pose guidelines. Make sure you're facing the camera directly with a neutral expression and your eyes open. Avoid any shadows or glares on your face, as well as any head tilts. You should also ensure that you have the right lighting conditions to take a passport photo, which should be natural light if possible.
Setting Up Your Home Photo Studio
Setting up your home photo studio for taking passport photos is easier than you might think. Follow these simple instructions to ensure you have everything you need for a successful photo shoot:
1. Choosing the Right Location and Lighting:
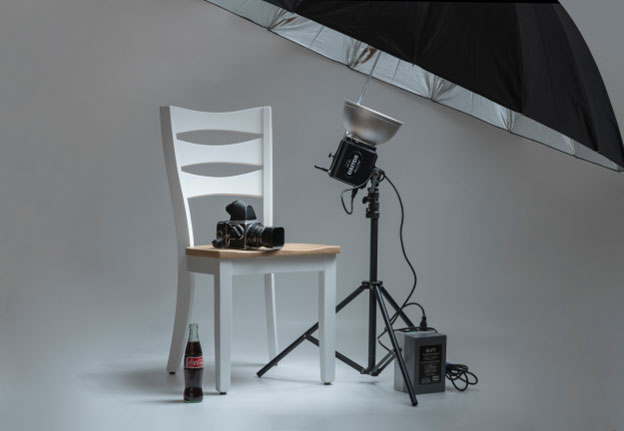
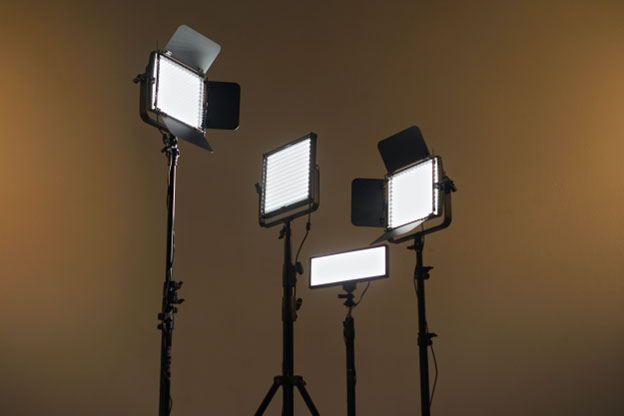
When setting up your home photo studio, choose a location that has good natural light. Natural light is ideal for taking passport photos because it illuminates your face evenly and minimizes shadows. Ideally, choose an area near a large window or door where you can take advantage of natural light. If natural light is not available, consider using a lamp or other light source to provide additional illumination.
2. Selecting a Background and Clearing the Space:
To take a perfect passport photo, you need a clean, plain background without any shadows or patterns. You can either use a piece of plain white or off-white paper or fabric or invest in a background stand and a professional backdrop. Clear the space of any unnecessary items, and ensure that your chosen background is hung or taped up securely.
3. Essential Equipment and Tools:
In addition to good lighting and a clear background, there are a few essential items you'll need to set up your home photo studio. These include a modern smartphone or digital camera with a high enough resolution to meet the passport photo specifications, a tripod or other stable surface to hold your camera steady, a photo editing app or tool to help you adjust your photo to meet the passport photo guidelines, and glossy photo quality paper and a photo printer to print your final photo.
Camera Setup and Technical Considerations
Taking a passport photo at home requires some technical considerations, including camera selection, exposure, and white balance. Here are some tips to help you set up your camera and take a great passport photo.
Camera and Lens Selection:
When taking passport photos at home, you can use a modern smartphone or a digital camera with a high enough resolution to meet passport photo specifications. Ideally, choose a camera with a lens that can produce a shallow depth of field, which will help to blur the background and make your face stand out.
Setting the Right Exposure and White Balance:
Proper exposure and white balance are essential for achieving a well-lit and color-accurate passport photo. To set the exposure, select the manual mode on your camera and adjust the shutter speed, aperture, and ISO settings to let enough light into the camera. For white balance, you can use the auto white balance function available on most modern cameras, or set the white balance manually by taking a photo of a white object in the same lighting conditions as your passport photo.
Tripods and Remote Shutter Release:
To avoid camera shaking and ensure that your passport photo is sharp, use a tripod or other stable surface to hold your camera steady. This is especially important since some passport photo guidelines may require a specific head size and clear facial features. Additionally, use a remote shutter release or self-timer function on your camera to minimize any camera shake caused by pressing the shutter button.
Step-by-Step Guide to Taking Passport Photos
When it comes to taking passport photos at home, there are a few important factors to consider, including preparation, framing, lighting, and getting natural expressions from your subject. Here is a step-by-step guide to help you take a great passport photo:
Preparing Yourself and Your Subject:
1. Most importantly, make sure that you and your subject look presentable with a clean face and tidy hair.
2. Consider suitable head coverings and avoid wearing any hat or other accessories that may obscure your face.
3. Choose a white or off-white background for your passport photo. You can also use a plain background without shadows or any other distractions.
4. Ensure that no other objects or people are visible in the background.
Framing and Composition:
1. Position your camera or smartphone at eye level, with your subject facing straight ahead.
2. Make sure that your subject’s face is taking up around 70-80% of the frame.
3. Follow the passport photo specifications for head size and position, which may vary depending on your country’s guidelines.
4. Leave enough space around the subject to avoid cropping any parts of their face when it comes to printing.
Ensuring Proper Lighting and Exposure:
1. Avoid using the camera’s built-in flash, which can create harsh shadows and unflattering facial features.
2. Use natural light whenever possible. Position your subject facing toward a window that allows plenty of light in.
3. Adjust the exposure and white balance settings on your camera to ensure that the photo is well-lit and color-accurate.
4. Use a tripod or other sturdy surface to avoid camera shake and ensure that the photo is sharp.
Tips for Getting Natural Expressions:
1. Encourage your subject to relax and feel comfortable. Take a few practice shots to help them feel more at ease.
2. Consider using a photo editing app or camera settings to adjust the brightness, contrast, and saturation to enhance your subject's features.
3. Avoid using a plain, neutral expression when taking the photo. Encourage your subject to smile naturally or adopt a more relaxed, friendly expression.
Editing and Printing Passport Photos
Editing Software and Basic Adjustments:
When it comes to editing your passport photos, you can use any basic photo editing software available on your computer or phone. Start by opening your photo in the editing software and making basic adjustments to ensure that your photo meets the requirements. You can adjust the brightness, contrast, saturation, and color temperature of the photo to ensure that the colors are accurate and the photo looks natural.
Resizing and Cropping to Meet Requirements:
It's important that your passport photo meets the size and position requirements specified by your country's guidelines. Once you've edited the photo, resize it to meet the specific size requirements. Use the crop tool to crop the photo to the correct head size and position. Make sure that the crop is centered on the head and that the background is consistent with the guidelines.
Printing Options and Quality Assurance:
When printing your passport photos, it's important to use high-quality photo paper that's specifically designed for printing passport photos. Use glossy photo paper to ensure that the photo looks clear and sharp.
Before printing the photo, be sure to double-check that it meets all the requirements necessary. This includes size, position, and background color. If you're unsure about the quality of the photo, consider using a professional photo printing service.
Once the photo is printed, do a final quality check to ensure that it's exactly what you need. Double-check that the photo has the correct size, position, and background color. If there are any issues, make any necessary adjustments and reprint the photo until it's perfect.
Conclusion: Capture Your Passport Photo Perfectly at Home
In conclusion, taking your passport photo at home can be an easy and convenient task with the right tools and knowledge. By following the guidelines set forth by your country's passport application requirements, using a suitable background, and getting proper lighting conditions, you can create a perfect passport photo right from the comfort of your home.
Taking your passport photos at home can save you time and money that you would spend at a traditional photo studio or local post office. Remember to double-check your final print for correct sizing, position, and background color.
Frequently Asked Questions:
Can I Use a Smartphone to Take Passport Photos at Home?
Yes, you can use a modern smartphone to take passport photos at home. Smartphones have high-resolution cameras that can capture digital photo with the required quality for passport applications. However, ensure that the camera resolution is at least 10 megapixels. Also, make sure that the lighting conditions are sufficient for the photo to come out clear and without shadows.
Are There Any Specific Clothing Requirements for Passport Photos?
Yes, there are specific clothing requirements for passport photos. Wear solid-colored clothing, avoid patterns, and make sure that your shoulders and chest are fully covered. It's essential to avoid head coverings and hats unless they are for religious or medical reasons. If wearing religious head coverings, make sure that the face is entirely visible and free from shadows.
Can I Smile in My Passport Photo?
No, you should not smile in your passport photo. Your facial expression must be neutral, with your mouth closed. Smiling can interfere with the biometric recognition technology used in passport applications and may lead to the rejection of your application.
How Can I Ensure the Background Meets the Necessary Specifications?
To ensure that your background meets the necessary specifications, use a white or off-white background without any shadows. If taking the photo against a wall, make sure that it's plain and doesn't have any patterns or textures that may interfere with the clarity of the photo. If you're using a background remover tool for digital passport photo, ensure that the background is entirely white without any shadows.
Can I Edit My Passport Photo to Remove Imperfections?
Yes, you can edit your passport photo to remove imperfections as long as the edits do not affect the quality of the photo or change any of your facial features. To avoid any issues, avoid using filters or special effects. Additionally, do not use a photo editing app to change the background color as it may change the photo's dimensions.

